Advertisement
CoolWallet Pro Hardware Card Review for Australia
I recently had the pleasure of reviewing a new crypto hardware wallet called CoolWallet Pro. Here is my take on it as it enters the Australian market in 2021, providing a secure way to store your cryptos.
Pros:
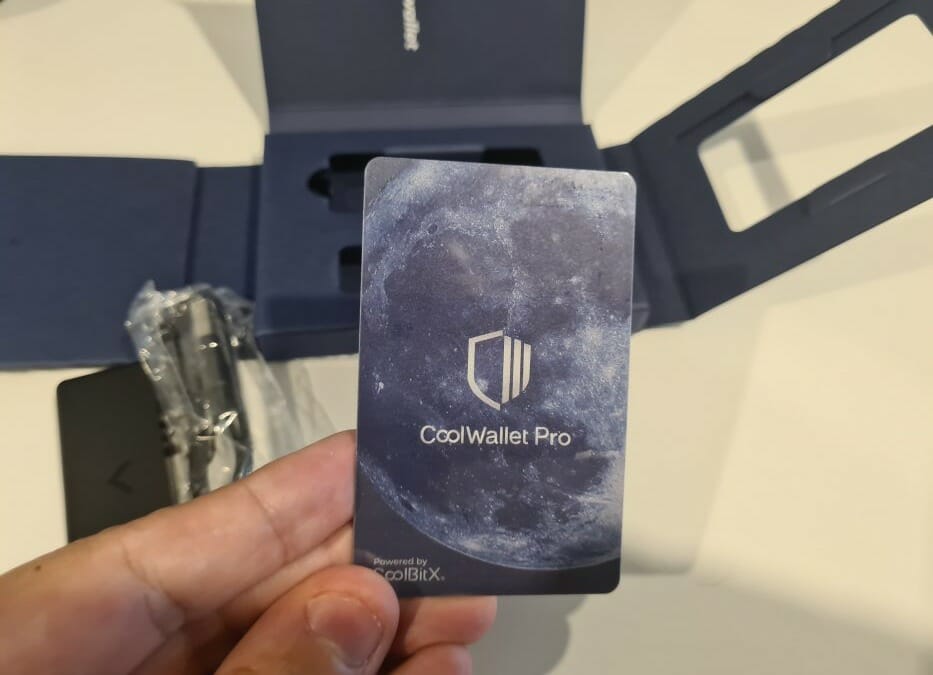
- Pretty cool card design for easy physical wallet storage (same size as a credit card).
- Displays balance of BTC, ETH, LTC, XRP directly on the card.
- Connects via Bluetooth to a mobile app.
- Charges via a cool USB cardholder connector.
- Supports BTC, ETH, LTC, XRP, BCH, ZEN, ICX, DOT, TRON, ATOM, BNB BEP2, all ERC20 tokens, and TRC20 tokens USDT, USDJ, JUST, WBTT and WIN.
- You can earn staking rewards for HODLing Polkadot, Tron and Cosmos.
- It’s safer to store your cryptos in a cold hardware wallet rather than an exchange or hot wallet.
- Co-branded cards can be used to customise the CoolWallet cards with your own branding to engage with your community.
Cons:
- It’s pretty much just a hardware wallet – you can’t use the card like a debit card.
- The technology is relatively new, although it looks secure enough.
- Bit pricey at AU$200 (although there is a cheaper model S for around AU$100).
How to Order the Wallet
The CoolWallet Pro is now available through a local reseller, Coinstop, that ships in 1-3 business days Australia-wide (use code COOLWALLET10 for a $10 discount). Otherwise, you can order it from the official CoolWallet site, where there’s a notice saying “Please note that your payment will be charged in New Taiwan Dollars (NTD)” so there might be a currency conversion fee associated. And they also say that orders will be dispatched within 10 working days (unless stated on next batch delivery date). Always remember to buy from the original manufacturers and authorised resellers to ensure the safety of your crypto. Don’t be that guy that buys off eBay only to find his crypto missing a few days later.
Unpacking the Wallet
The card comes nicely packaged with a security seal, instruction manual, charger and seed card. I put the card in the charger for around three hours initially to get a full charge on it before setting it up. #mycoolwallet
Setting Up the Wallet
To set up the wallet, you’ll need to download the CoolBitX Crypto mobile app (a smartphone running at least Android 6, or iOS 9.1 is required).
Quick links: Android Mobile App / Apple Mobile App
Once you have the app installed, you can update the firmware to the latest version. That done, you can pair your card with the mobile app using Bluetooth (NB: the app crashed during the firmware upgrade,
so I force closed the app and restarted it, clicked ‘update’ and it worked.)
Press the button on the actual card to pair it with the mobile app. Once connected, the card should show a zero Bitcoin balance.
Setting Up the Crypto Wallet
There are two ways to set up your crypto hardware wallet:
- Using the card to display the keywords (displayed as numbers on the actual hardware card)
- Using the mobile app to display the keywords (displayed as words on your mobile phone screen)
Option 1 is considered safer as it doesn’t show your keywords on your mobile device or store them as an image, which hackers could exploit. Option 2 is easier as you can simply write down your keywords or take a screenshot (not recommended).
Using Option 1 – Setting up using the card
To set up the crypto wallet using the card to display the numbers was a bit challenging and time-consuming, as you need to write down every number displayed on the card, one by one, double-check and then sum the total to confirm at the end.
Advertisement
I ran into some issues setting up the wallet via the card, as it wouldn’t accept the total sum number I entered. After triple-checking the number was correct, and still not working, I moved to Option 2.
Using Option 2 – Setting up using the app
To set up the crypto wallet using the phrases on the phone was very easy; you simply write down your words (can be 12 or more) then verify them one by one. There is a button to save your seed as an image file (which didn’t work for me).
Adding your coins
Adding new coins to your wallet is pretty simple; just click the plus (+) at top right and add/remove coins as you wish to create your portfolio. You can also choose to hide your balance (which doesn’t seem to hide the balance on the card also, though).
Recieving BTC to CoolWallet Hardware from an External Wallet
Sending BTC to the hardware wallet from an external wallet is pretty straightforward:
- Open the CoolBitX mobile app
- Click Send
- Send the BTC to the address shown
- Voila – your BTC balance should now appear on the app and on the card.
Sending BTC from CoolWallet Hardware to an External Wallet
Sending BTC from the hardware wallet to an external wallet is also pretty straightforward:
- Open the CoolBitX mobile app
- Click BTC, click send (or whichever crypto you want)
- Scan the address (QR code) of your external wallet (I used Exodus wallet)
- Confirm the amount and select fees (higher the faster), click Send
- Wait about 30 minutes for BTC blockchain to complete the transaction (fees and time will vary)
- In a real example, I sent $0.00076252 BTC (AU$47.78) and received AU$32.72, paying AU$11.17 in fees.
Background Info on CoolBitX Company
CoolBitX company brand was established in 2014 and the first generation CoolWallet was born in 2016 (the world’s first cold storage device designed for mobile). It supported only Bitcoin at that time, so in 2018 CoolBitX improved the idea and introduced the CoolWallet S for expanded coin support and an integrated Marketplace to satisfy the evolving needs of users.
FAQ and Getting Help
There is an official manual that may help you with setup and some information on their YouTube channel.
Thanks for reading!
Author
Sam Deering
Sam Deering is a cryptocurrency enthusiast with background in computer programming. He loves to learn, share and write about anything crypto news.